Ice dams don’t just appear overnight—they’re the result of underlying issues with your roof and attic that develop long before winter arrives. Most homeowners discover they have a problem only after water has already damaged their ceilings, walls, and insulation. The good news? You can identify and fix the conditions that create ice dams before the first snowflake falls.
What Ice Dams Are and Why They’re Dangerous
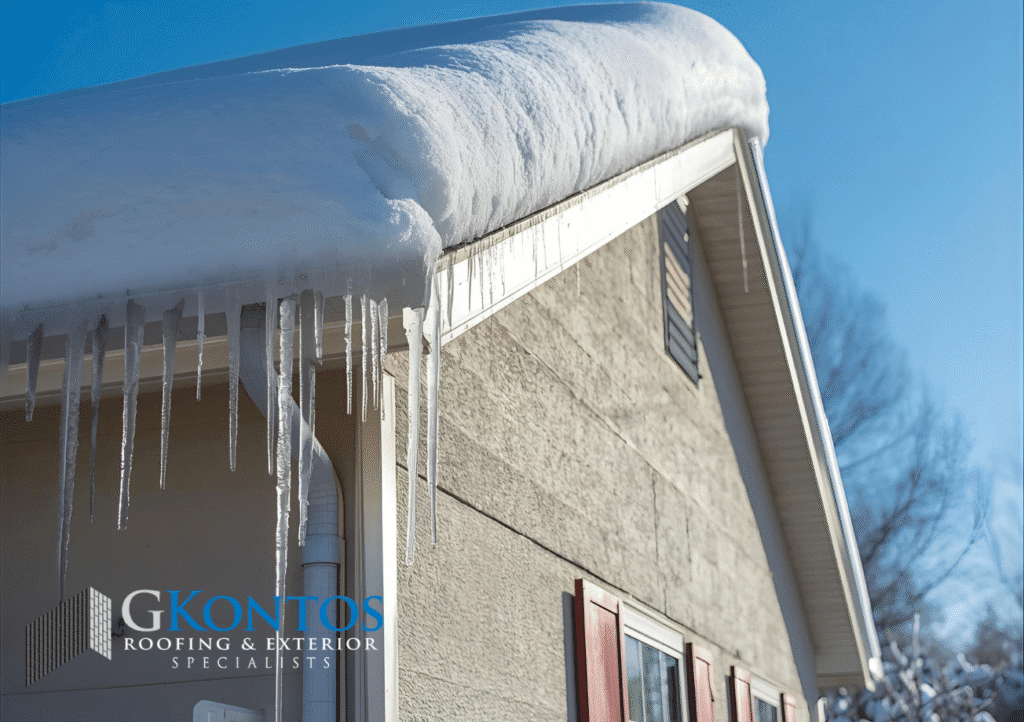
An ice dam forms when heat loss from your living space into the attic melts snow on your roof. That melted water runs down to the colder eaves and refreezes, creating a barrier of ice. As more snow melts, water backs up behind this dam and eventually seeps under your shingles, leaking into your home.
The damage isn’t limited to water stains on your ceiling. Ice dams can destroy insulation, rot roof decking and rafters, ruin drywall, and even cause structural damage to your home’s exterior walls. A single ice dam event can easily cost thousands of dollars in repairs.
The Science Behind Ice Dam Formation
Ice dams form because of three factors working together: snow accumulation on your roof, heat loss from your living space into the attic, and outdoor temperatures hovering around freezing. When your attic is warmer than 32°F and your eaves are colder, you’ve created the perfect conditions for ice dams.
Heat escapes into your attic through several pathways: recessed lighting fixtures, attic hatches, plumbing vents, ductwork, and inadequate insulation. Once that heat reaches your roof deck, it melts the bottom layer of snow even when outside temperatures are well below freezing.
Critical Areas to Inspect Right Now
Your Gutters and Downspouts
Walk around your home and check for clogged gutters filled with leaves and debris. Clean gutters allow water to drain properly instead of pooling and freezing. Look for gutters that sag or pull away from the roofline—these won’t drain effectively and create spots where ice accumulates first.
Your Eaves and Roof Edge
Stand back and examine the edge of your roof where it overhangs your walls. Look for staining, water marks, or paint peeling on your soffits. These signs indicate water has been infiltrating during past winters. Check for any visible gaps or cracks where water could enter.
Inside Your Attic
Your attic tells the real story. On a cold day, carefully touch your roof deck from inside the attic. If it feels warm to the touch, you’re losing heat. Look for:
- Dark staining on roof sheathing (indicates moisture problems)
- Compressed or missing insulation, especially around the perimeter
- Light coming through the roof (these gaps leak warm air)
- Frost accumulation on nails poking through the roof deck
- Ductwork or recessed lights without proper insulation barriers
Preventive Actions You Can Take Today
Improve Attic Ventilation
Adequate ventilation keeps your attic temperature close to outdoor temperature. Check that your soffit vents aren’t blocked by insulation and that your ridge or gable vents are clear. A properly ventilated attic should feel cold in winter, not warm.
Seal Air Leaks
The single most effective prevention strategy is stopping warm air from entering your attic. Use expanding foam or caulk to seal around:
- Plumbing vent pipes
- Electrical wiring penetrations
- Attic hatch frames
- Recessed light fixtures (use insulation covers rated for this purpose)
- Chimney chases
Upgrade Insulation
Your attic should have at least R-38 insulation in most climates, with R-49 or higher in colder regions. More importantly, insulation should be evenly distributed without gaps, especially at the eaves where ice dams form first.
Create a Cold Roof Edge
Consider installing a minimum 6-foot ice and water shield membrane along your eaves under the shingles. This doesn’t prevent ice dams, but it creates a waterproof barrier that protects your roof deck if water does back up.
Red Flags That Require Professional Help
Call a roofing contractor immediately if you notice:
- Icicles larger than a few inches forming along your eaves
- Water stains appearing on interior ceilings near exterior walls
- Previous ice dam damage that hasn’t been properly addressed
- Attic insulation that’s wet, compressed, or insufficient
- Complex roof geometry with valleys and multiple levels (these trap snow)
Don’t wait until you see active leaking. By that point, hidden damage may already exist inside your walls and ceiling cavities.
Your Bottom Line Decision Framework
Take action now if:
- You’ve had ice dams in previous winters
- Your attic feels warm compared to outdoor temperature
- You have insufficient or uneven insulation
- Your gutters are clogged or your ventilation is blocked
Consider professional help when:
- You need to add significant insulation or ventilation
- Air sealing requires accessing difficult areas
- Your roof is aging and may need replacement soon
- You’re unsure about the condition of your attic or roof structure
Take These Next Steps Before Winter Arrives
Start with what you can do yourself: clean gutters, seal obvious air leaks around the attic hatch, and check that vents aren’t blocked. Then schedule a professional roof and attic inspection to identify problems you can’t easily see.
Prevention costs a fraction of repair. Addressing heat loss and ventilation issues now protects your home from expensive damage all winter long—and reduces your heating bills as a bonus. Don’t wait for the first snow to find out your roof isn’t ready.